ESEM Recipes
This page is only for ESEM Recipes.
june 1st 2015 30kv
- spot 6 3.5nA
- spot 5 1.4nA
- spot 4 410pA
- spot 3 126pA
- spot 2 38pA
- spot 1 23pA
Writing order: Horizontal and Vertical Raster
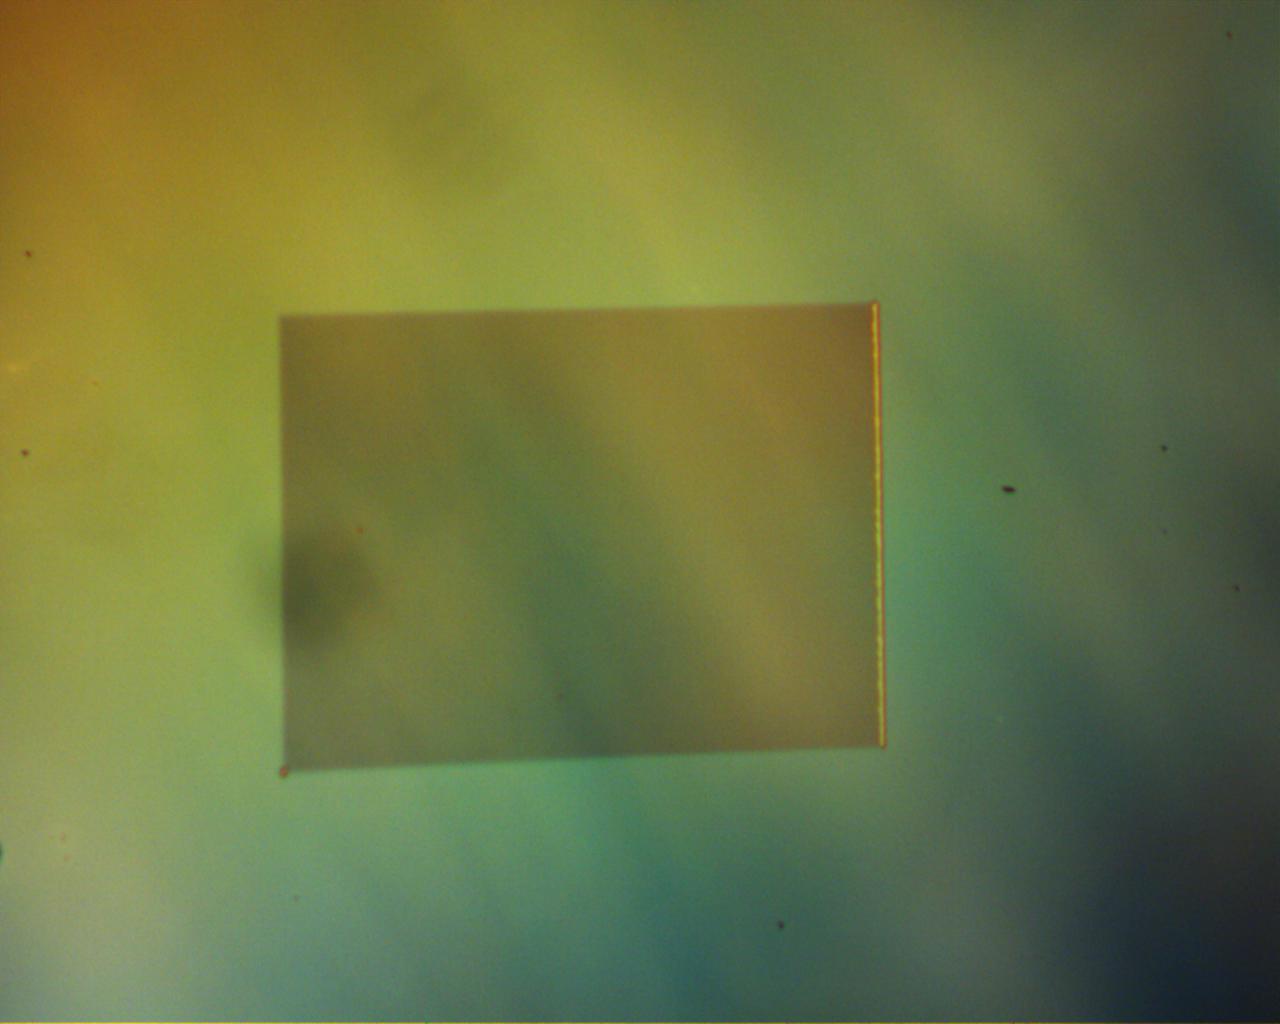 Start: Bottom Left, H raster, bottom to top. Point movement: RULD
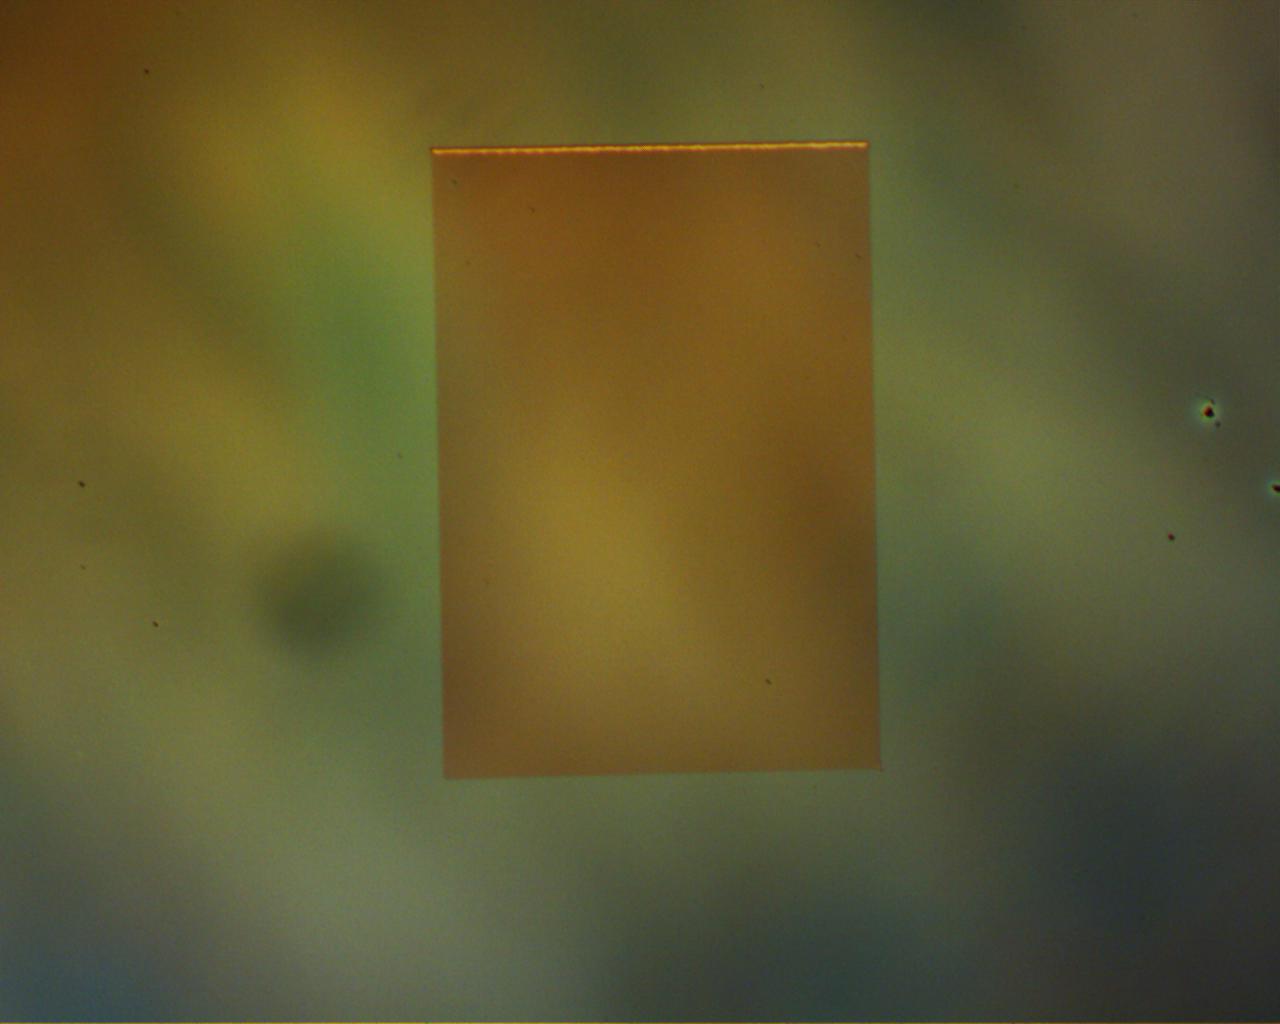 Start: Bottom right, V raster, right to left. Point movement: ULDR
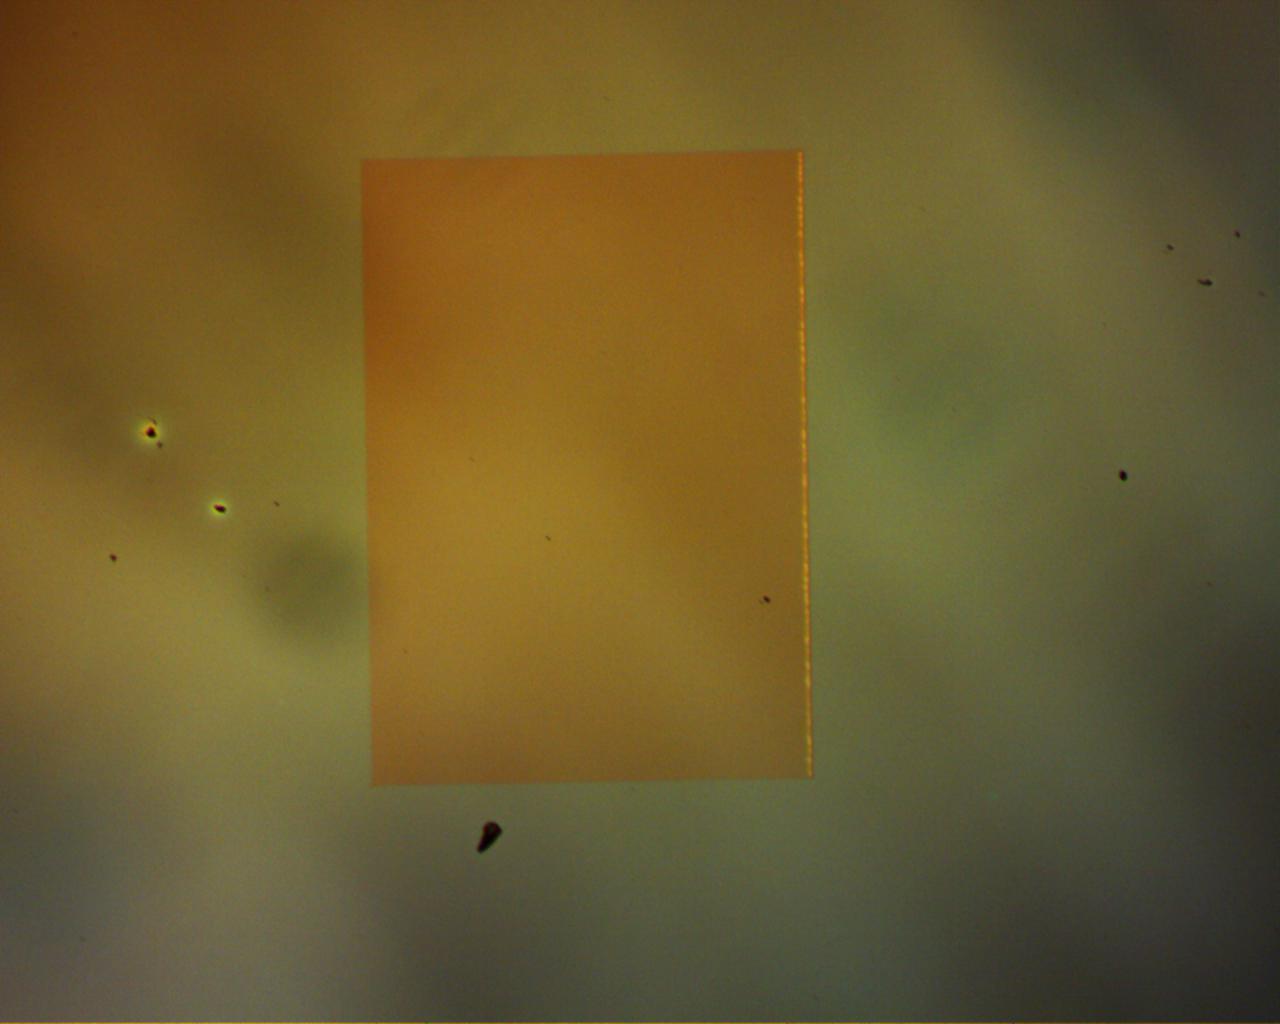 Start: Bottom Left, H raster, bottom to top. Point movement: URDL
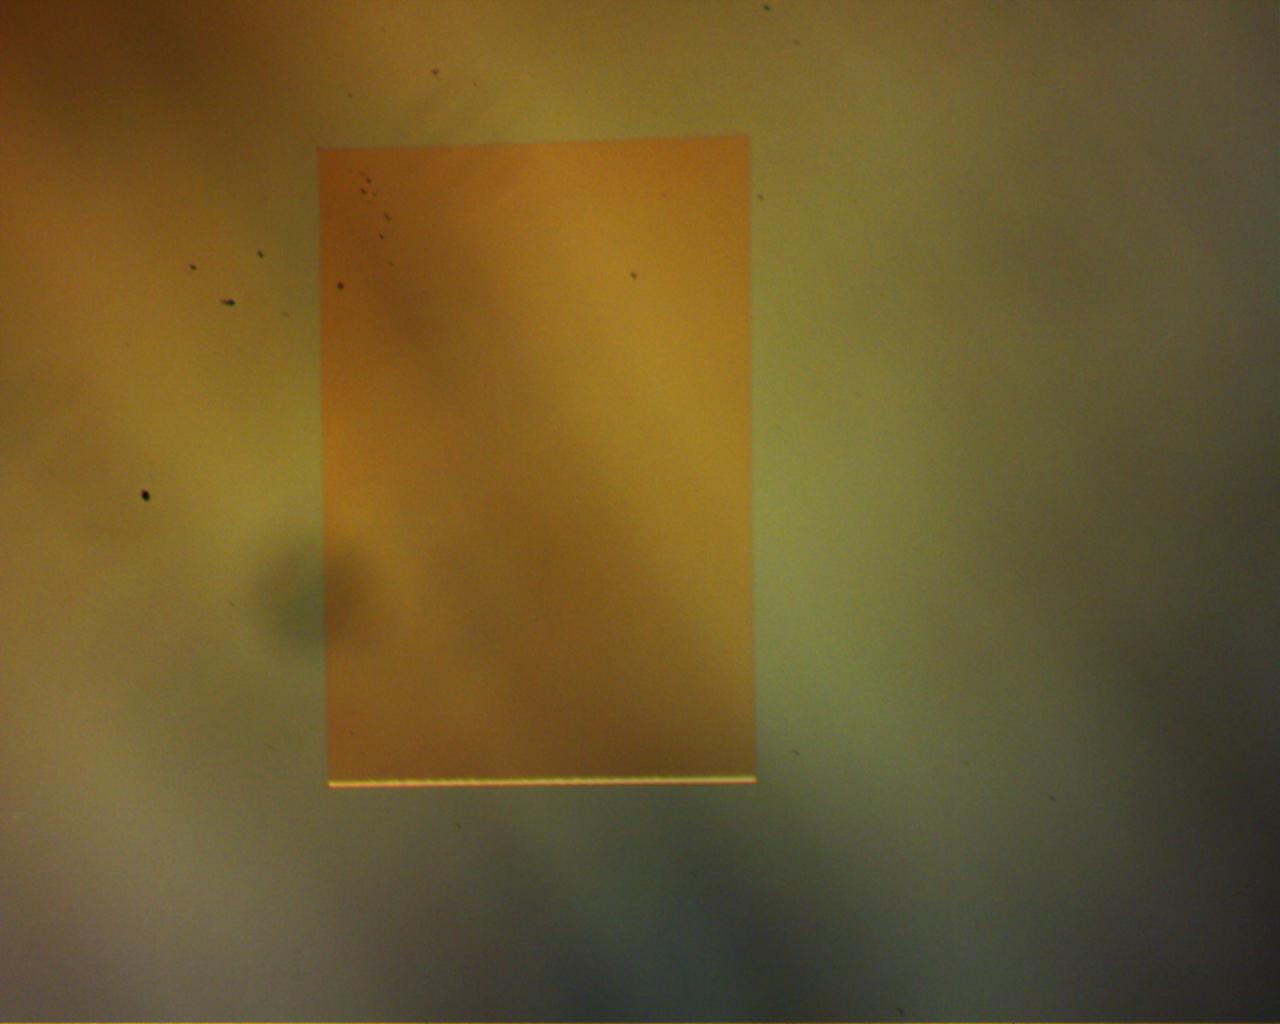 Start: Top Left, V raster, left to right. Point movement: DRUL
Translations: Start 1, rotate 90 for 2, mirror in X for 3, mirror in Y for 4.
MAGNIFICATION SPECIFICATIONS
In DesignCad, the units are um. Make the pattern in the file exactly as large as you want it to come out. Adjust the pattern origin to fit the maximum magnification. (Unless you want the origin to not be in the center).
In the NPGS menu, make sure the magnification matches the MaxMag. (Less than or equal to). If you are using the largest magnification possible, round down to the nearest nice number to work with.
On the computer, set the magnification to match the NPGS specification. Make sure it is set to the [Display] setting, not the [Photo] setting.
Basic Operating Procedure
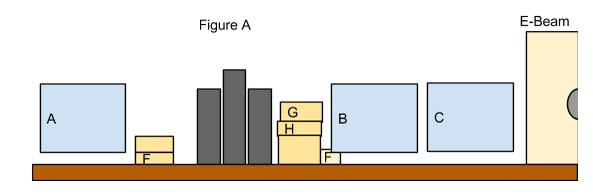
Writing With E-Beam:
Retrieve gloves, little scissors, carbon tape, (Dry Lab- east wall, north end drawers) tweezers
Log onto computer C (see figure A): user: SEMCLASS password: semstudents
Vent Chamber
Log onto computer A (see Figure A): name: davis password: 90901
After logging on and running calibration, press the <return> but to start the second calibration
Open up NPGS and check pattern to be uploaded
Turn F to Litho at both locations, turn on H & G
Press “Zero Check” (zero out H by pressing “shift” + “Zero Check” on H. Do this while it's pumping down).
Check that G is set to External
Mount sample onto flat stand w/ Faraday cup
Keep sample aligned with black stub on top
Add conductive tape to base of sample, connecting to stand (ONLY IF LiNbO3)
Open chamber on E-beam machine
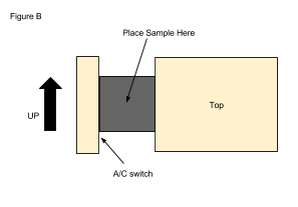
Place mounted sample into E-beam oriented upwards (Faraday Cup goes UP)
Insert Beam Blanker.
Change switch from A to C (Figure B)
Hold door closed and press the Pump button
Attach Coax to the door of the E-beam, and the beam blanker tube to the back of the beam blanker
Align X with the top edge of the sample
Focus on the top left corner of the sample down to half the resolution you need. (If smallest feature is 5um, focus down to 1um. If 200nm, focus to 100nm. Do your best).
Set magnification and spot size to specifications of the run file (Make sure you are in Display mode, not Photo). On of the modes (photo?) multiplies the magnification by 2.5. So if you want mag x100 you should set it to mag x40. See above for spot size you should select for the energy measured. To measure the energy focus in on the Faraday Cup with the beam un-blanked.
Check Beam is at 30 kV, Spot size, magnification
Set Scan to External XY on Computer C
Blank Beam (by turning on G and making sure it is set to “ext”. Do not blank beam on monitor)
Run file on Computer A (“process run file” on NPGS program)
Ensure that the nanoammeter doesn’t remain at zero while writing (that would mean the beam is completely blanked still)
Wait for the file to complete running
A fancy noise will sound at the end of each pattern written
Vent the chamber when you are done with all patterning. Remove sample.
Return all settings on machines to original values
The two F blocks must be changed back to original values
Disconnect Coax cable and e-beam wire
Remove E-Beam blanker. Wait til chamber is vented before doing so.
Switch in E-Beam needs to set back to A
Close door of E-Beam and press Pump on Computer C
Wait for “Pump OK” sign and turn off/ log off all machines in room